When the planner flags a type in red or amber, it's telling you something specific about how your team will lose. Here's what each color actually means.
Step 1
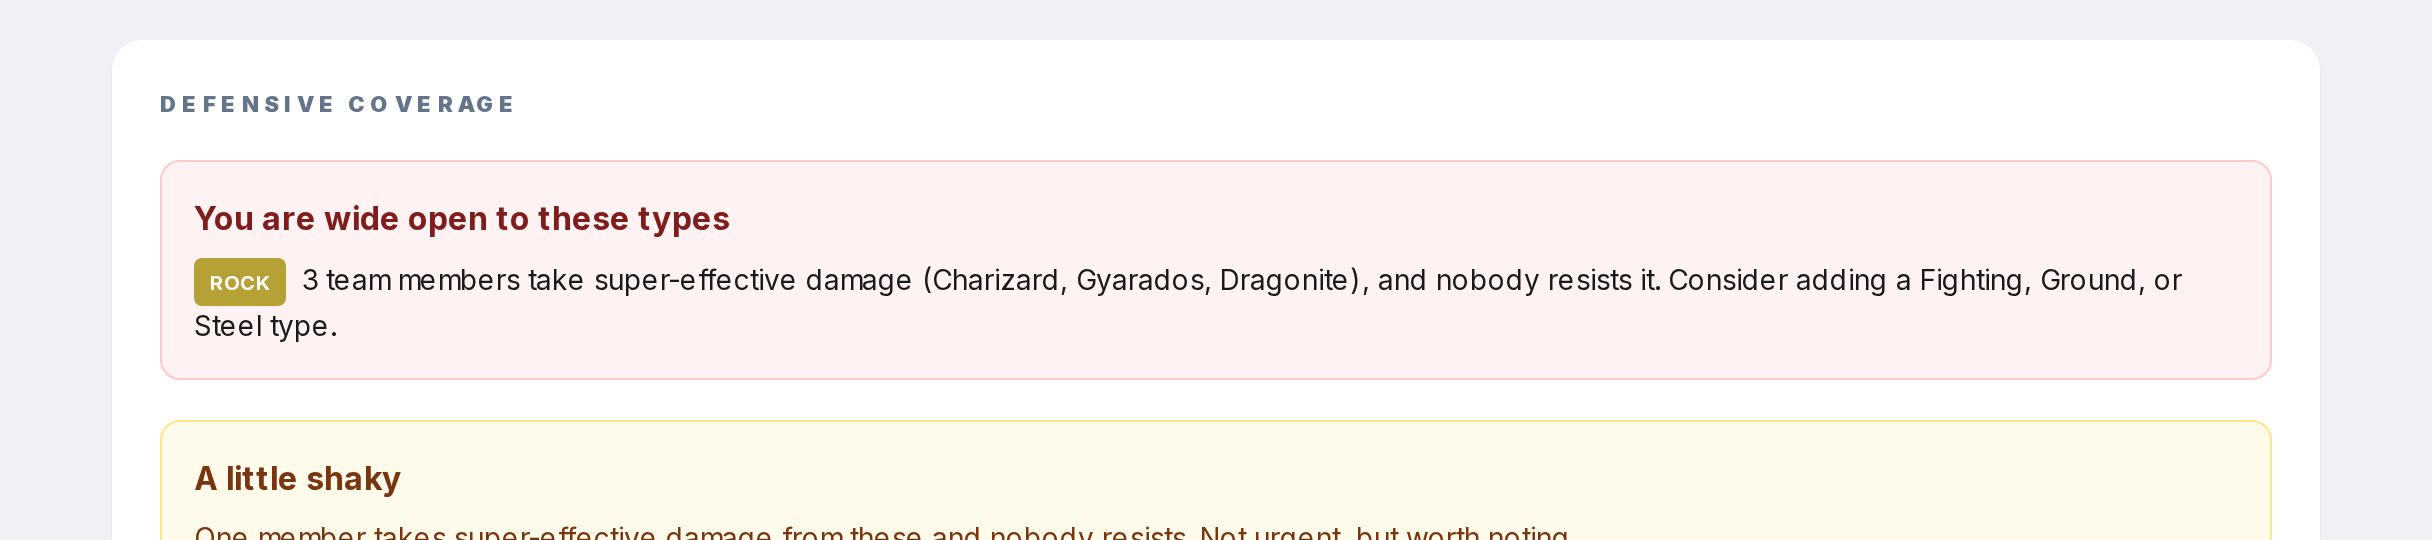
Red panel ("wide open"): multiple Pokemon on your team take double damage from that type, and nobody resists. Fix this before anything else. A single switch-in with a matching move could wipe your team.
Step 2
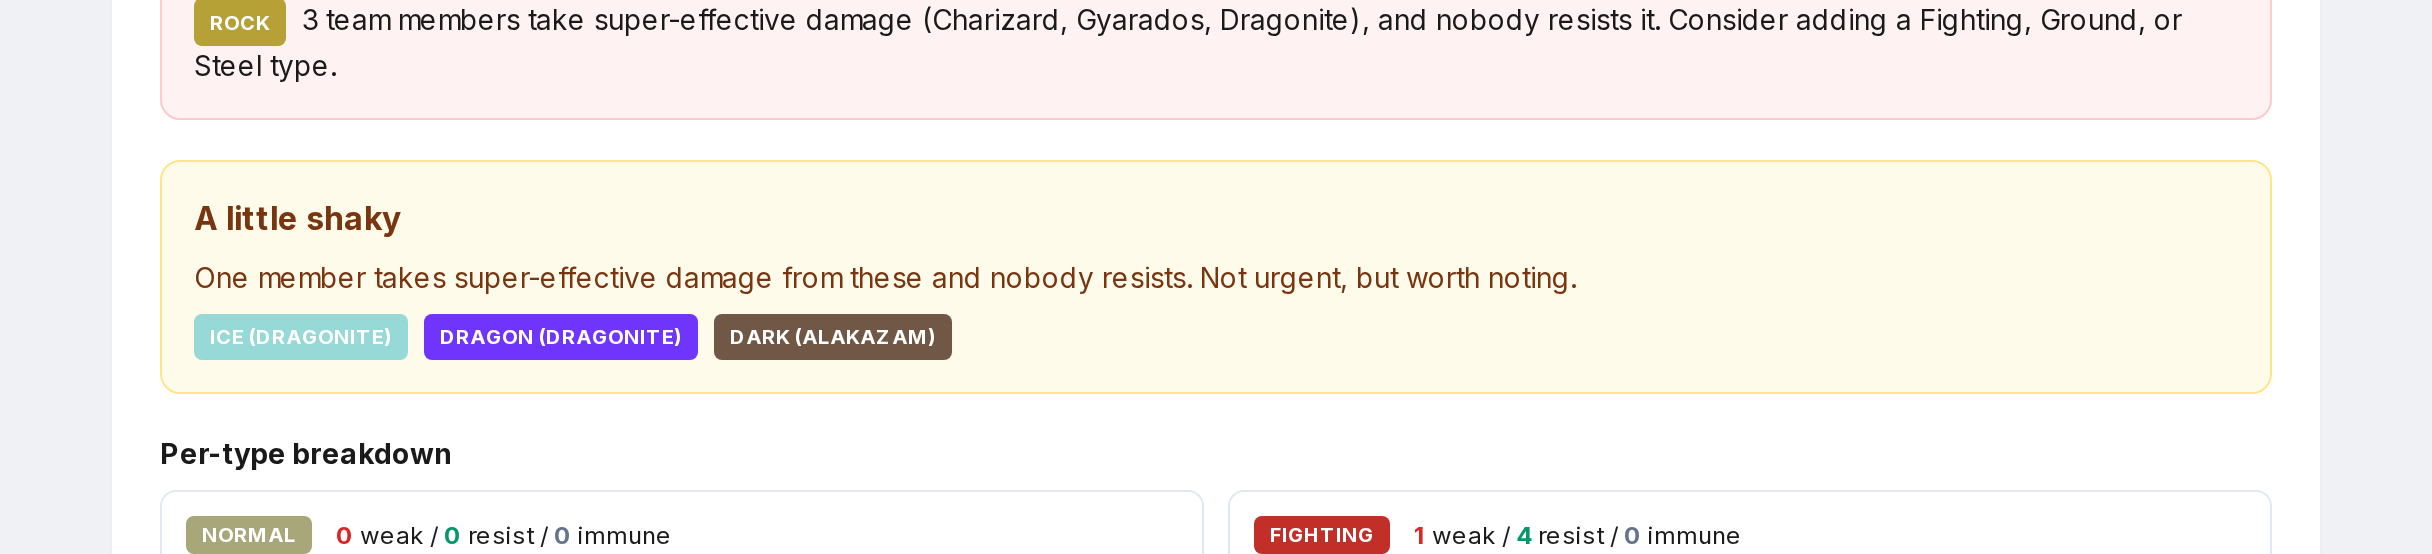
Amber panel ("shaky"): one Pokemon takes super-effective damage, and nobody on your team resists. Less bad. Usually fine for a casual playthrough, worth patching for competitive.
Step 3

Green panel ("no major gaps"): every type either has zero team members weak to it, or at least one Pokemon who resists. You're balanced.
Step 4
The suggestions in red panels list types that would add a resistance. Adding one of those types closes the gap.